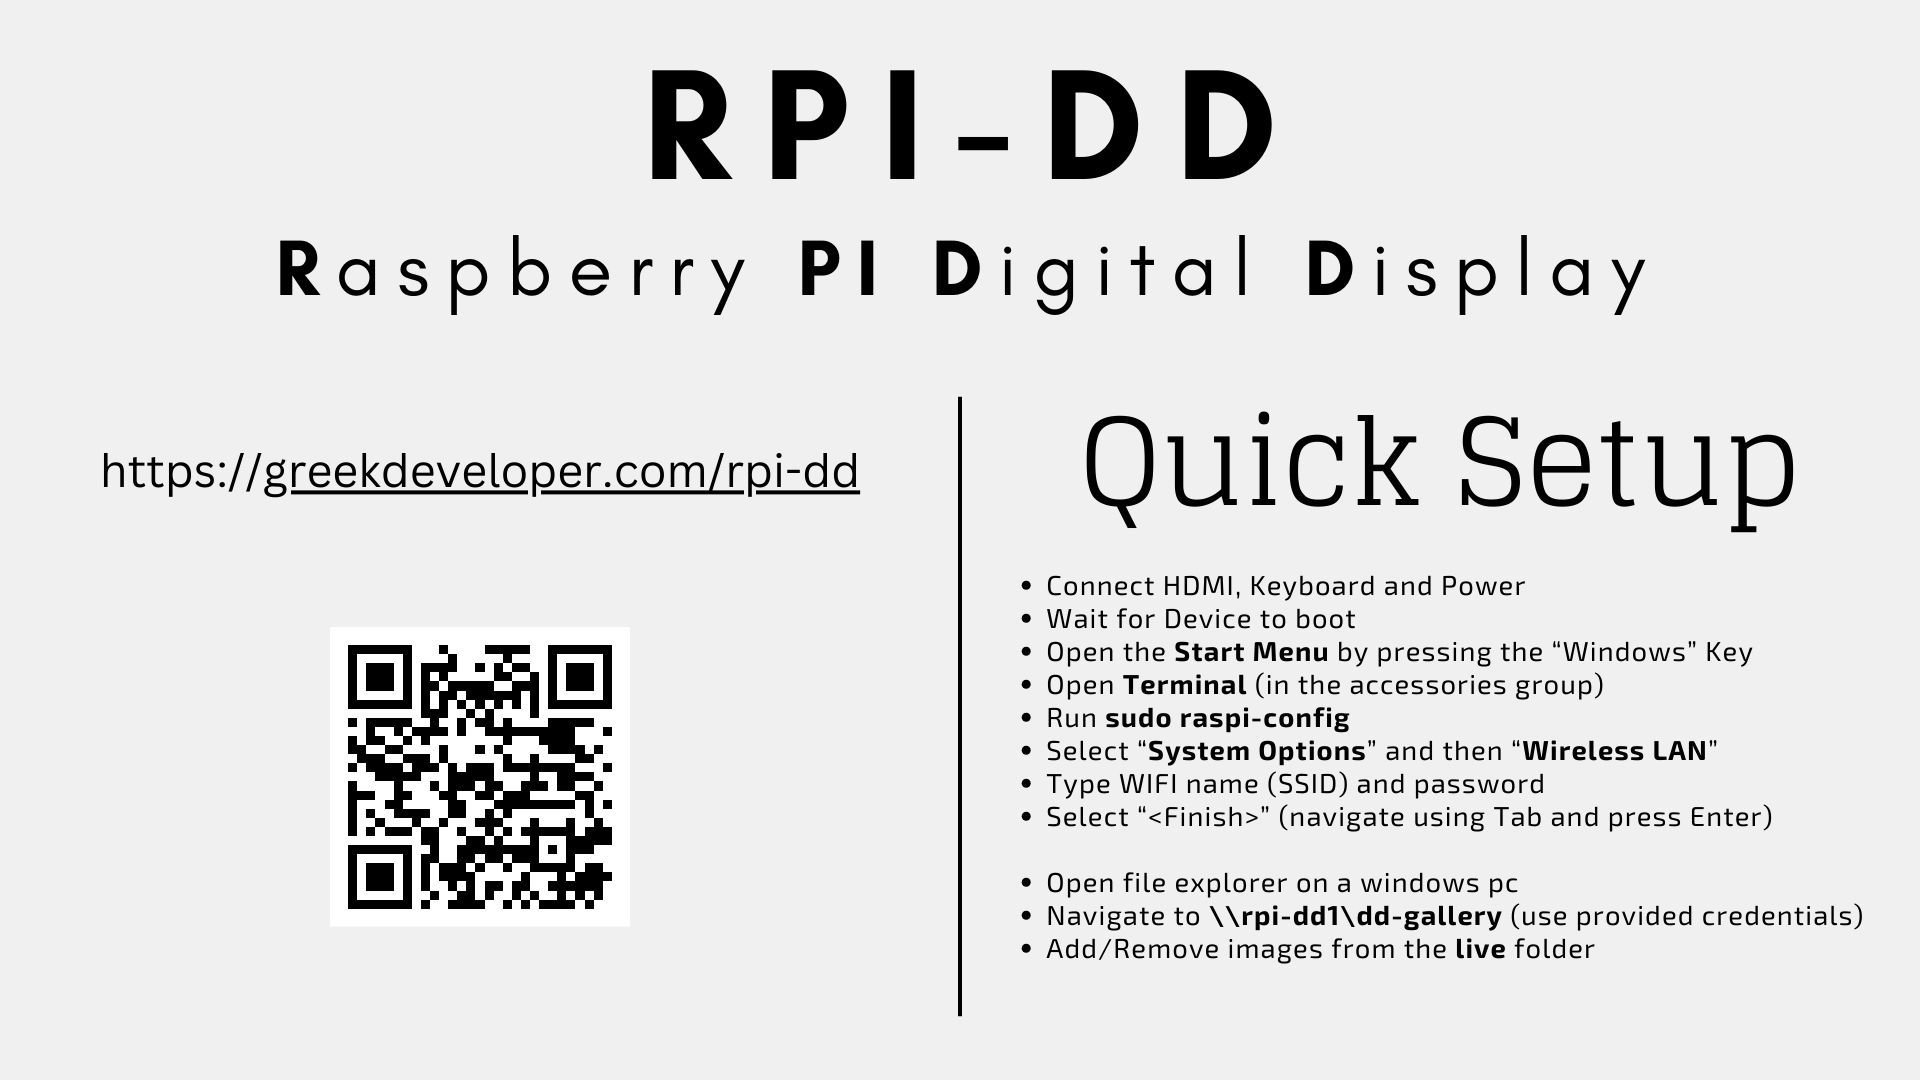
Raspberry PI Digital Display
Convert a TV or Monitor to a simple digital display using a Raspberry PI and Magic-Mirror
Raspberry PI Digital Display
Convert a TV or Monitor to a simple digital display using a Raspberry PI and Magic-Mirror framework.
Introduction
This project describes how to use a Raspberry PI to create a Digital Display that converts any TV or Monitor into a simple digital display using the Magic-Mirror platform. The solution is cost-effective and perfect for displaying photos, information, or creating ambient displays.
Features
- Plug & Play Setup: Easy connection via HDMI
- WiFi Configuration: Simple wireless setup process
- Shared Folders: Network access for easy content management
- Photo Slideshow: Automatic cycling through images
- Magic Mirror Integration: Extensible platform with modules
- Cost Effective: Uses Raspberry PI Zero 2 W for minimal cost
Hardware Requirements
- Raspberry PI Zero 2 W (most cost-effective option)
- Mini-HDMI to HDMI cable
- Micro-USB cable and mobile phone charger
- Micro-USB OTG adapter (for initial setup)
- TV or Monitor with HDMI input
Usage
Connecting
The Raspberry PI needs the following connections to work:
- Display: Connect to the TV/Monitor via a mini-HDMI to HDMI cable
- Power: Power via a micro-USB cable and a mobile-phone charger
- Input: Keyboard via a micro-USB OTG (on-the-go) adapter (only for initial setup)
After powering up and switching the TV/Monitor to the correct input, the digital display interface should appear.

Initial Configuration
WIFI Setup
The following actions are to be taken on the Raspberry PI:
- Open the "Start Menu" by pressing the "Windows" button
- Open the "Terminal" application under the "Accessories" application group
- Run
sudo raspi-configon the terminal to open the raspberry configuration application - Select "System Options" and then "Wireless LAN" (use arrow keys and the enter key)
- Type the WIFI name and then the WIFI Password
- Select "Finish" (use the tab key)
Shared Folders Setup
The following actions are to be taken on a Windows PC:
- Open "File Explorer"
- Type
\\rpi-dd1\on the path - Enter the provided credentials
- Configuration: Folder
\\rpi-dd1\dd-configcontains the configuration file - Live Images: Folder
\\rpi-dd1\dd-gallery\livecontains the images that are displayed in the TV/Monitor - Storage: Folder
\\rpi-dd1\dd-gallerycan be used to store images
Technical Implementation
Magic Mirror Framework
Raspberry PI Digital Display uses MagicMirror as the core framework, which provides:
- Modular architecture
- Web-based configuration
- Extensible plugin system
- Responsive display layouts
Background Slideshow Module
The project integrates MMM-BackgroundSlideshow for image display functionality:
- Automatic image cycling
- Configurable timing intervals
- Support for various image formats
- Smooth transitions between images
Configuration
Both MagicMirror and MMM-BackgroundSlideshow can be configured from the configuration file in the dd-config folder, allowing for:
- Display timing adjustments
- Image directory configuration
- Module positioning
- Appearance customization
Project Repository
Detailed instructions on how to create your own RPI-DD can be found on the project's repository.
The repository includes:
- Complete setup scripts
- Configuration templates
- Installation guides
- Troubleshooting documentation
Use Cases
This digital display solution is perfect for:
- Home: Family photo displays, ambient information screens
- Office: Meeting room displays, information boards
- Retail: Product showcases, promotional displays
- Events: Photo galleries, information displays
Benefits
- Low Cost: Minimal hardware investment using Raspberry PI Zero 2 W
- Easy Setup: Simple plug-and-play installation
- Remote Management: Network-based content updates
- Extensible: Magic Mirror's modular system allows for additional features
- Energy Efficient: Low power consumption for 24/7 operation